

kiwikr.co.nz
|
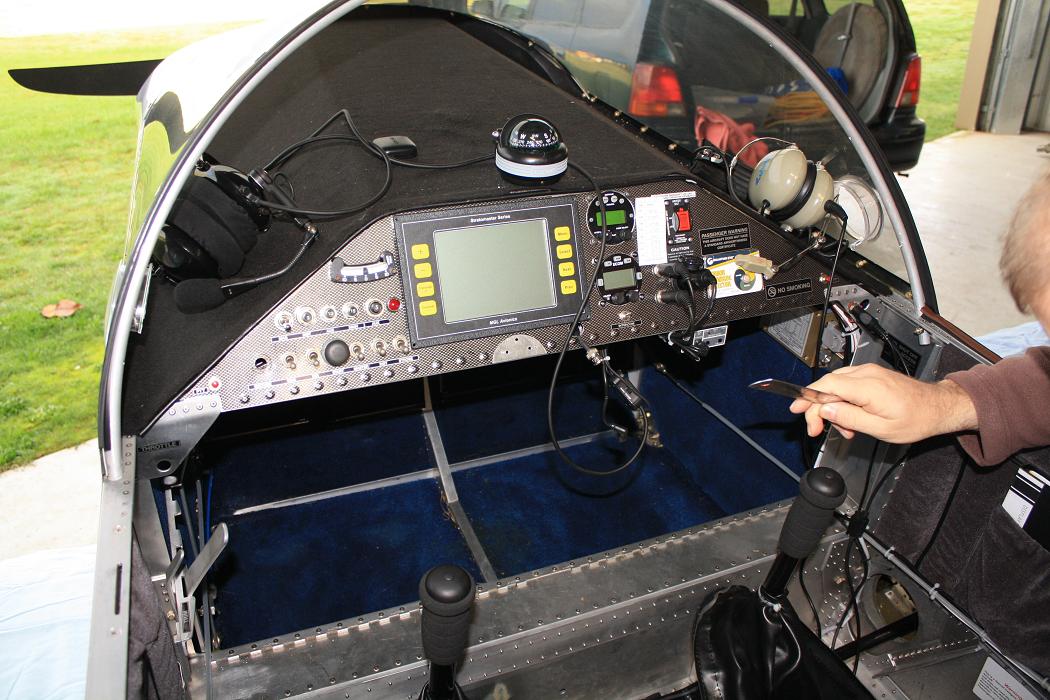
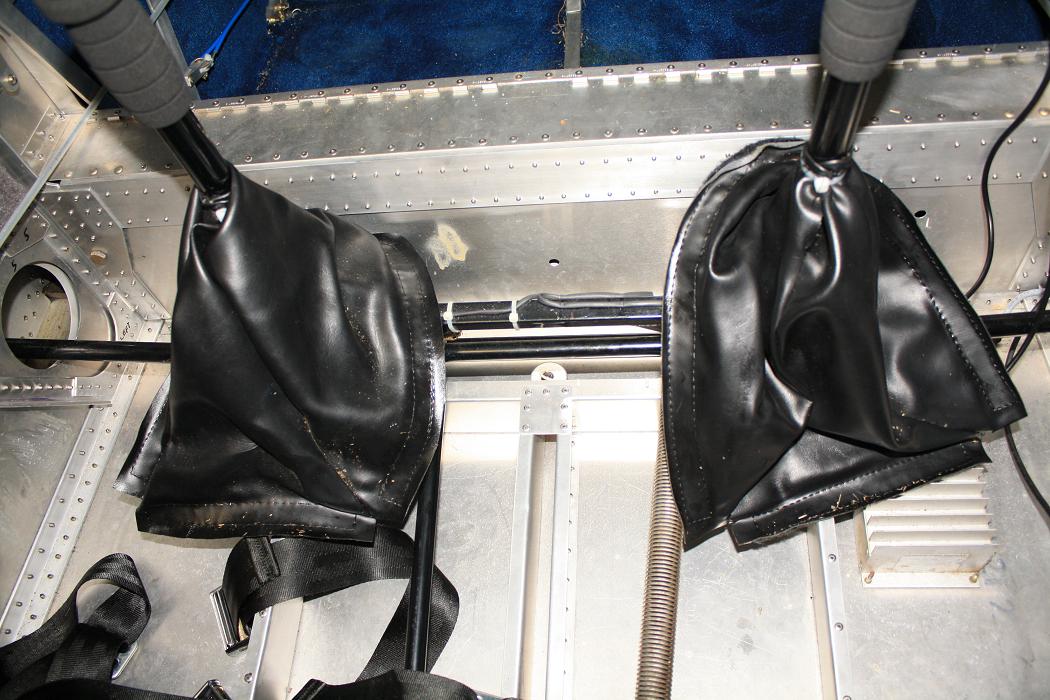
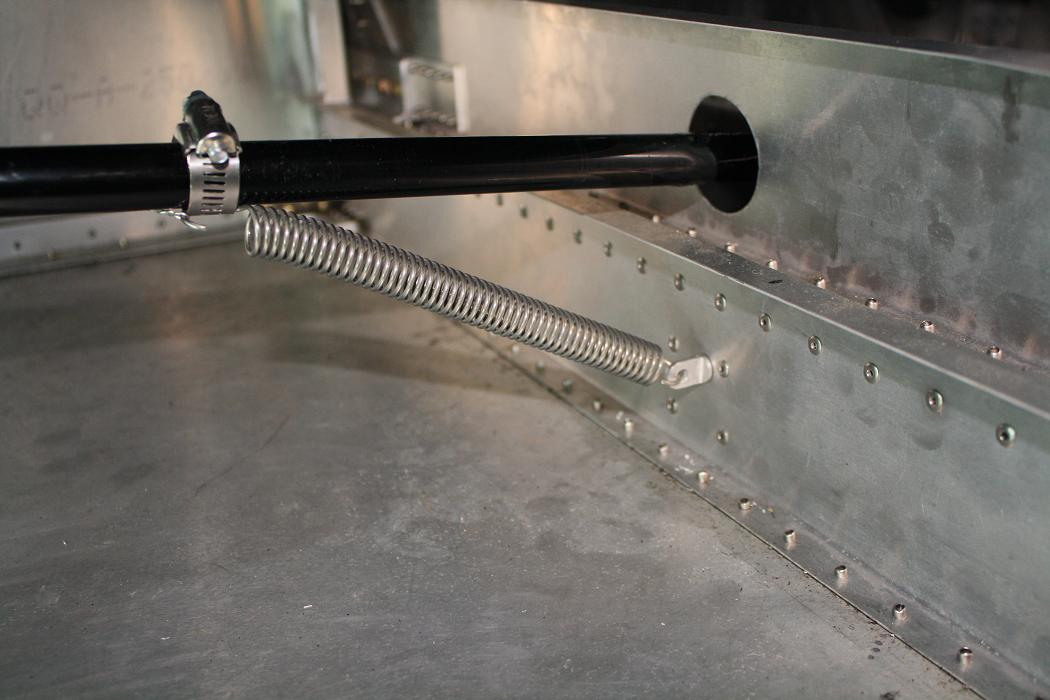
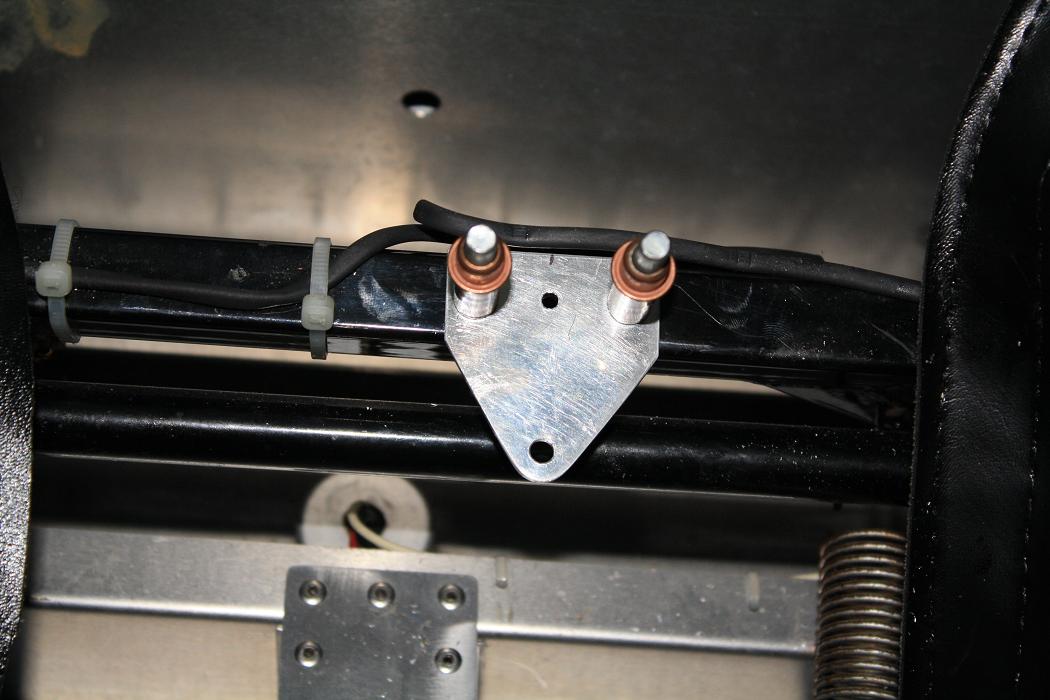
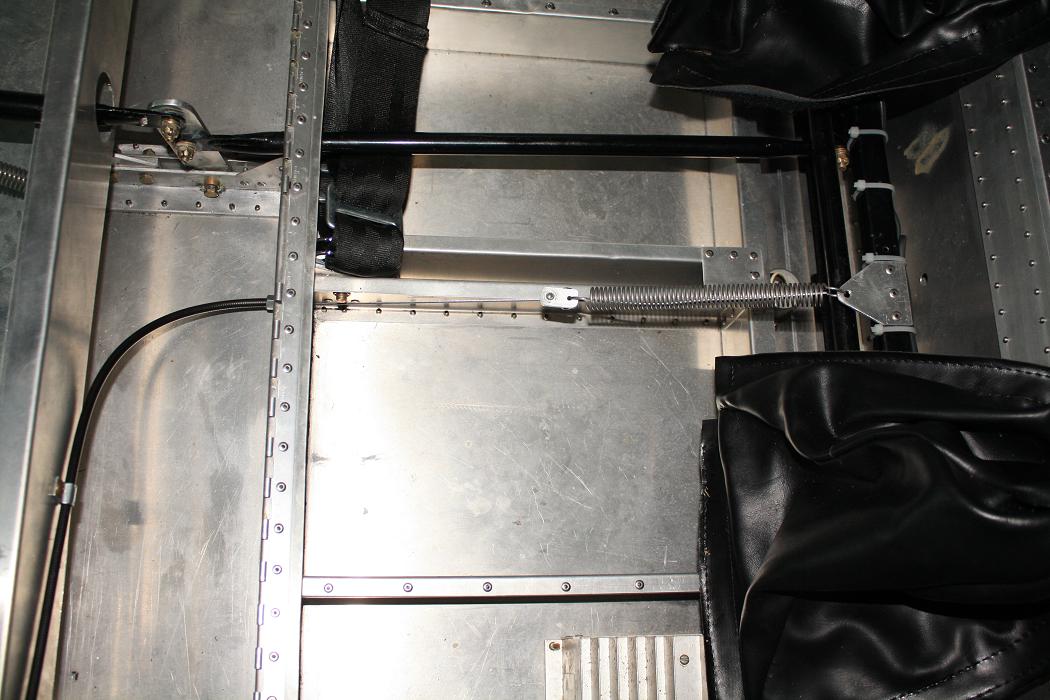
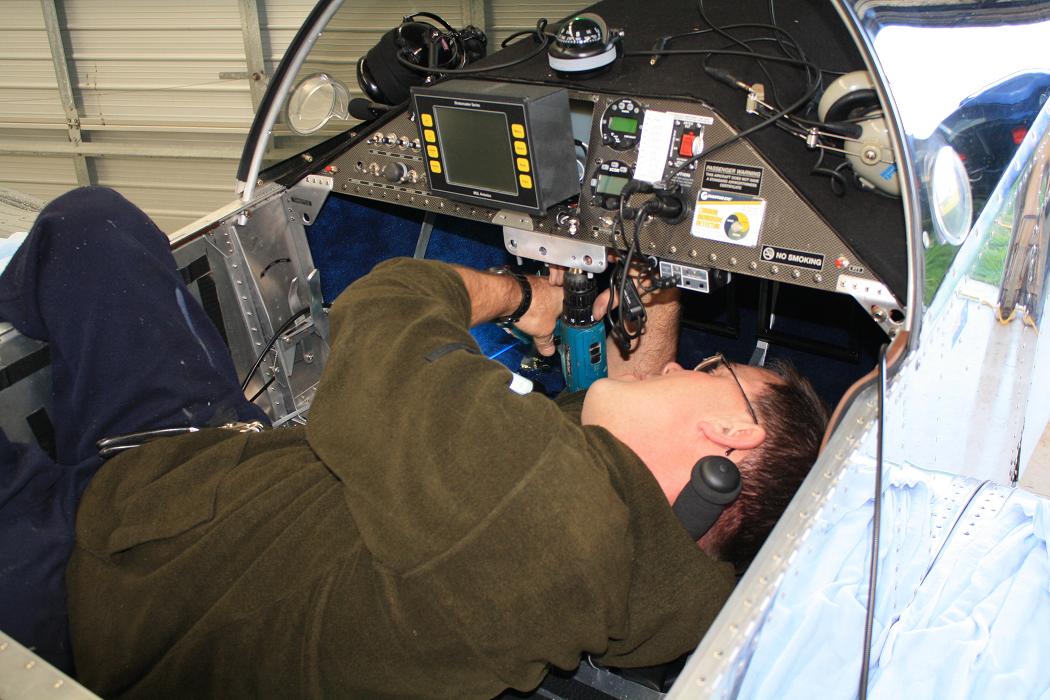
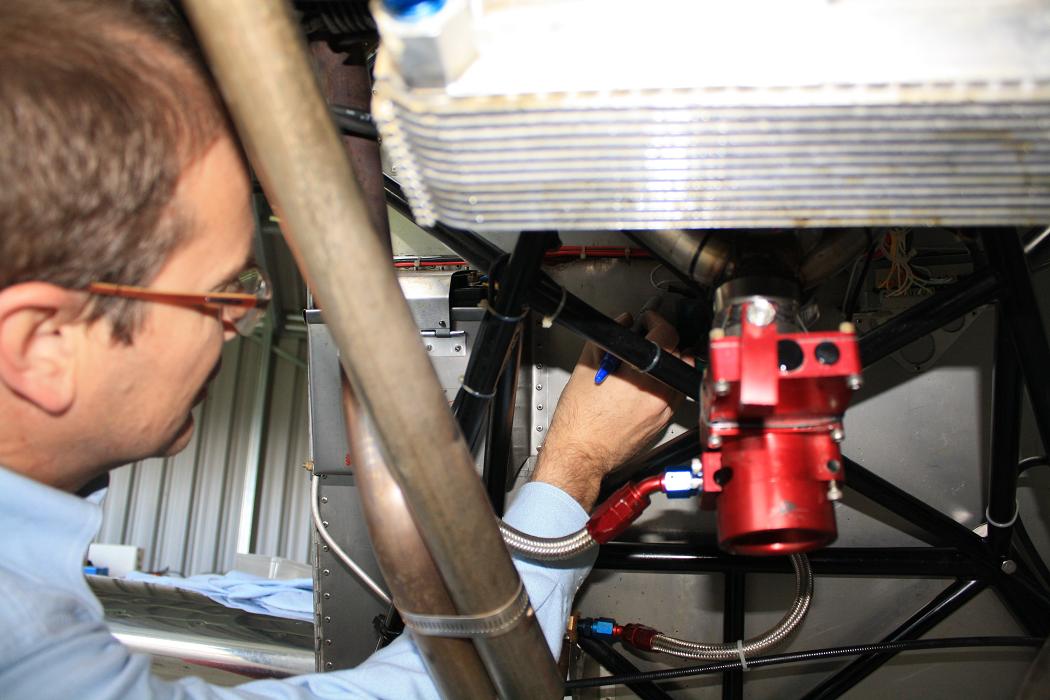
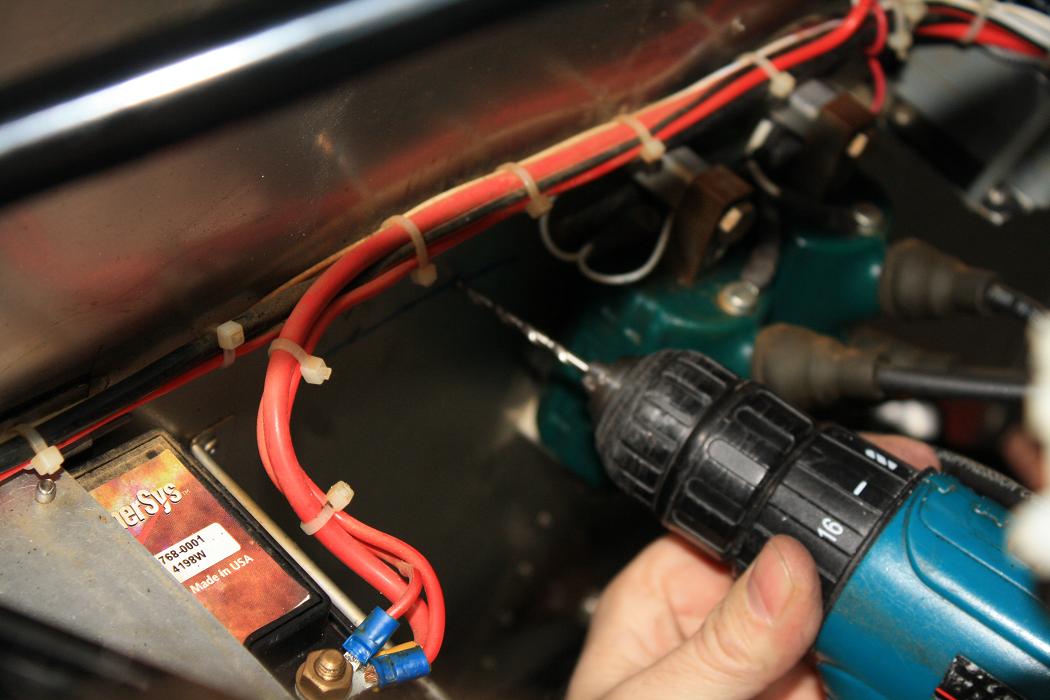
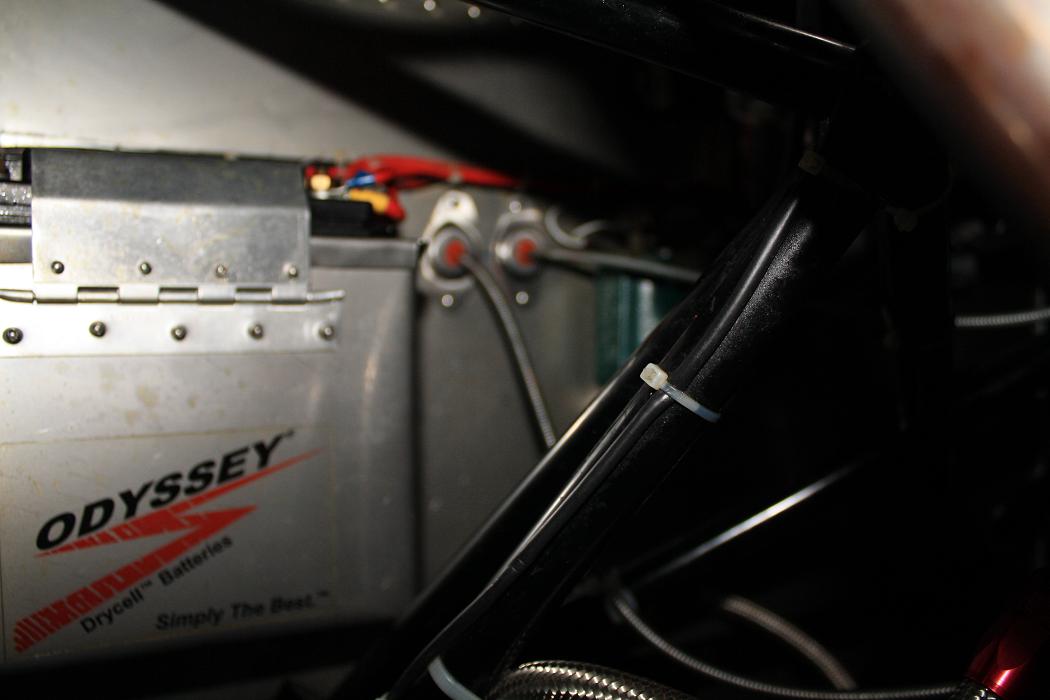
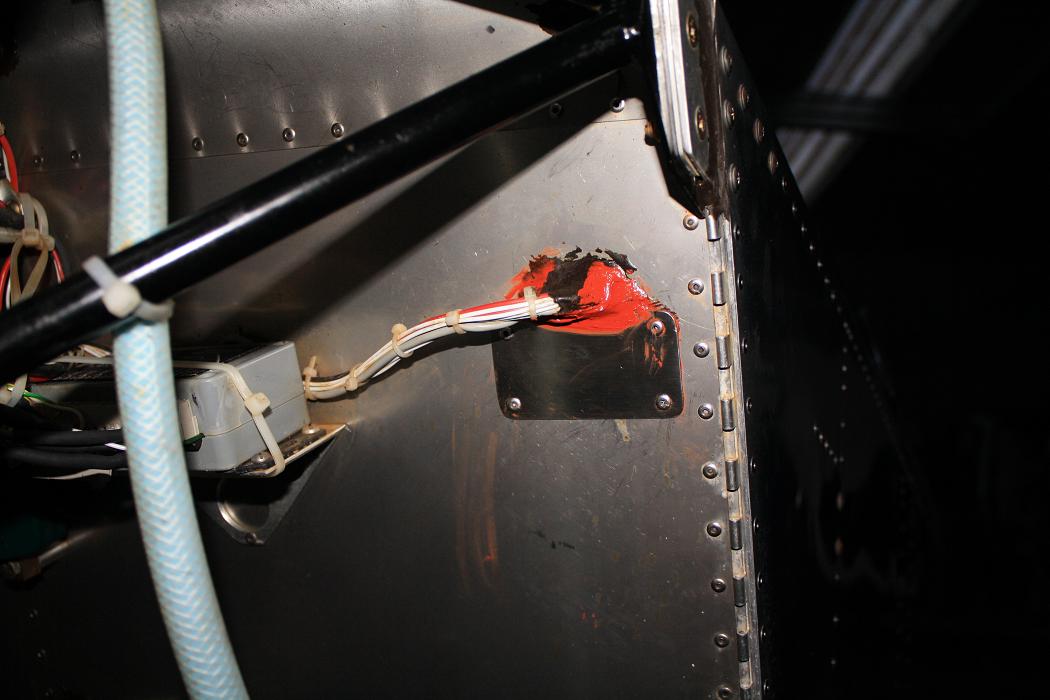
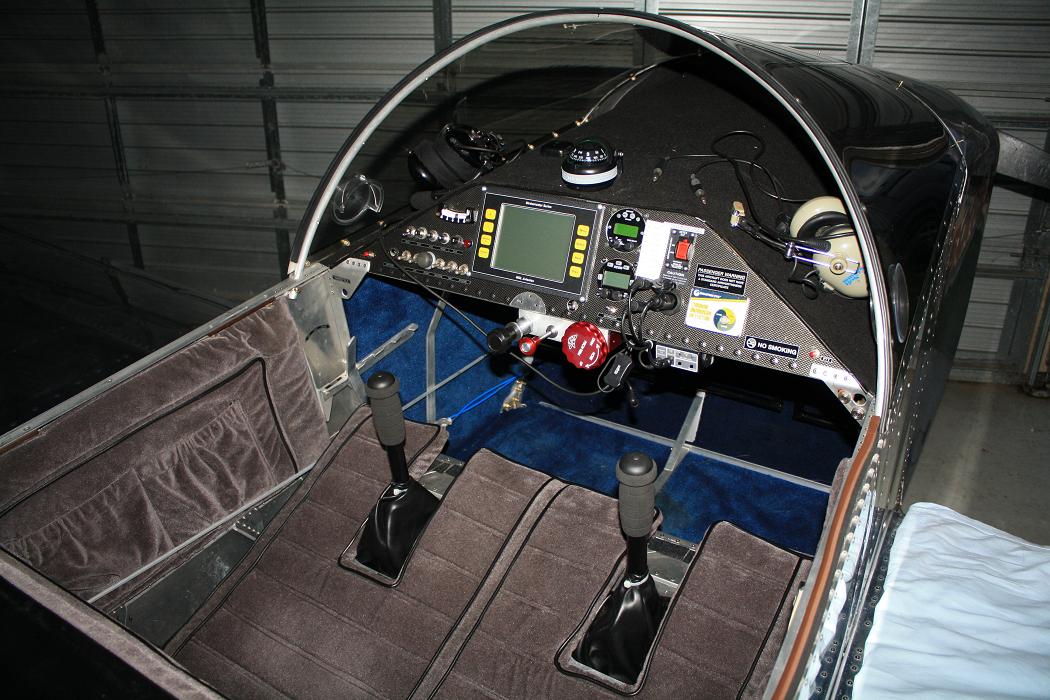
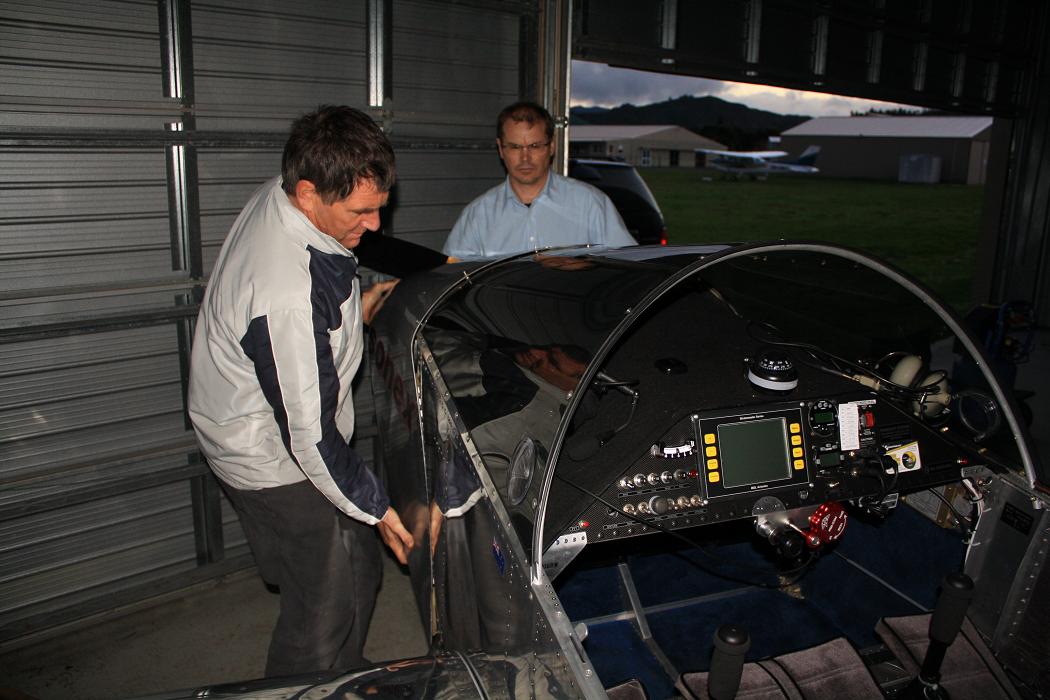
Before any of the syndicate members could fly JQP, we needed to make some changes to the engine and trim control installations. These changes were required because the instructor who will be rating us on JQP raised a defect with the aircraft in that the main controls weren't easily accessable to the instructor from the right hand seat. As such Paul Blackmore and myself starting making the changes on the weekend of the 30th of May by removing the existing throttle and mixture controls in preparation for fitting a new central mounting bracket for the controls in a couple of weeks time. Then on the Sunday the 13th of June, Paul and I drove down from Auckland and started working through fitting the new components. First up we disconnected the existing Trim Tab and installed a new Balance Trim mechanism onto the elevator control. This mechanism trims the aircraft by applying forward or back force to the control column to move the elevator itself to trim the aircraft for level flight. It is quite a neat solution and means there is no external trim tab required. Following on from installing the balance trim we then installed the new central mounting bracket for the throttle, mixture and trim adjustment controls. This proved to be quite difficult because access to the Sonex cockpit is quite tight particularly for someone my size. However we managed to get it installed and then fitted the throttle, mixture and trim controls to it. The other major change required was to re-route the throttle and mixture controls through the firewall as the original position on the left hand side of the firewall left insufficient cable available to reach the carb. As such Paul drilled a couple of new holes in the firewall, threaded the cables throught and fitted two pre-prepared shrouds around the cables to seal the firewall. All in all a busy days work. The pictures below are from the day.
| ||
www.kiwikr.co.nz